
The 90's brought us many good things (Nirvana, Radiohead, Pokemon... the list goes on), but one of its most ubiquitous items is the choker. Of all the necklaces in the world, the choker is definitely the most unique. In this post, I'm gonna show you how to make your own!
The inspiration for this DIY came from the film Leon: The Professional, arguably one of the best ever made. Not only is the story heart-breakingly beautiful, Natalie Portman is one bad-ass kid in this film:
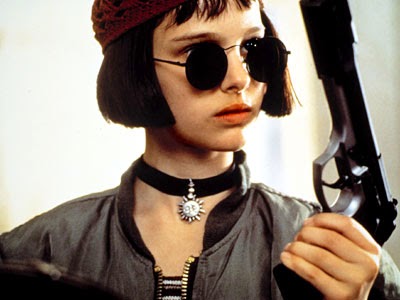
I decided to update the look using a thinner cord instead of a ribbon, but you can easily swap it out for a ribbon if that tickles your fancy. Let's get started!

What you'll need:
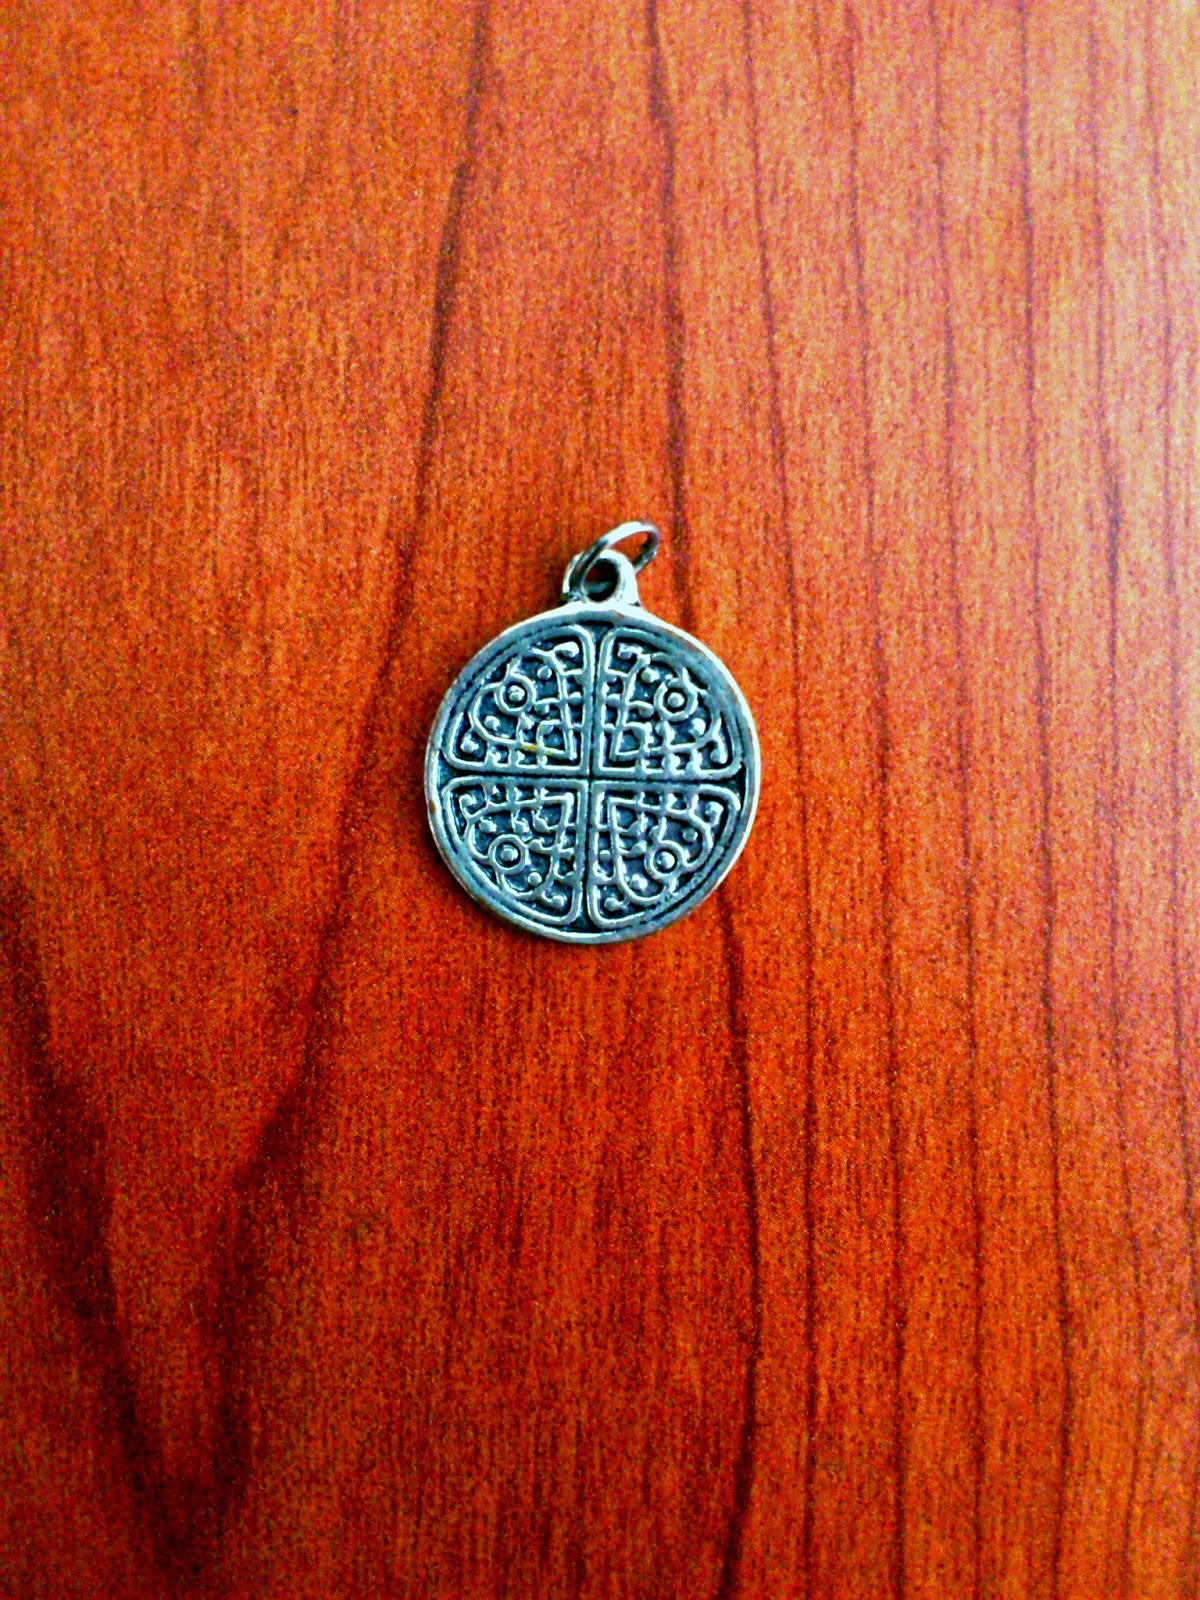
- Charms or pendants (I love the rose quartz one!)
- Black thread or cord
- Clasps and jump rings
- Clear nail polish (optional)
1. Gather 3 lengths of thread, about 50 cm (20 in) long (you can cut off the excess later). To get the cord to be thick enough, I made each one 4 threads thick. Tie one end in a knot, making sure they're nice and untangled.

2. Tape the knot to the surface and start braiding (if you used a cord or ribbon, go ahead and skip this step). Tie it off at the end and check again to see if it is long enough to wrap around your neck, with a little left extra.

3. Add a jump ring to your pendant if it needs it, and thread it onto the cord.
4. Attach your clasp and jump ring to the cord and tie off the ends. You may have to hold it up against your neck to make sure it ends up to be the right length. The best length is to have your pendant hanging right between your collarbones.

5. Snip off the extra bits at the end.

6. (Optional step) Add some clear nail polish to the frays to get a cleaner look. This also helps to keep the knots from untying.

And your choker is done! I also made a slightly longer one to wear with my choker. It's a great idea to make several of different lengths to wear together.


No comments:
Post a Comment